If you want to produce high-quality photographs with a hip, vintage vibe, nothing compares to using film. Photographing with a digital camera is very different from shooting 35mm film. You must first learn how to load film into a camera if you want to try your hand at film photography. You will be shown precisely how to load film into a camera in this step-by-step tutorial.
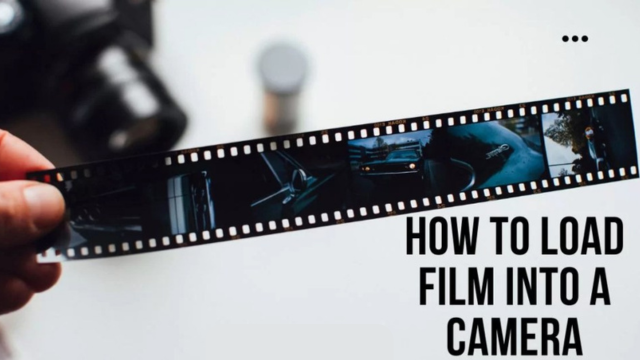
It may appear difficult to load 35mm film for the first time, but with a few tries, you’ll get the hang of it. It pays to load your film carefully to avoid the chance of improper image development. But don’t worry, we’ll walk you through the 5-step process of loading a 35mm film camera!
If you want to couple this with some fantastic film, see our post on the best 35mm film right here. For other camera alternatives, see our article on the greatest film cameras.
How to Load Film into a Camera: Full Steps by Steps
At first, loading film into a film camera can be a little challenging, but you’ll get the hang of it pretty quickly. You’ll be prepared to shoot some fantastic pictures if you follow these instructions for loading film into a camera.
Step 1: Open Up Your Camera
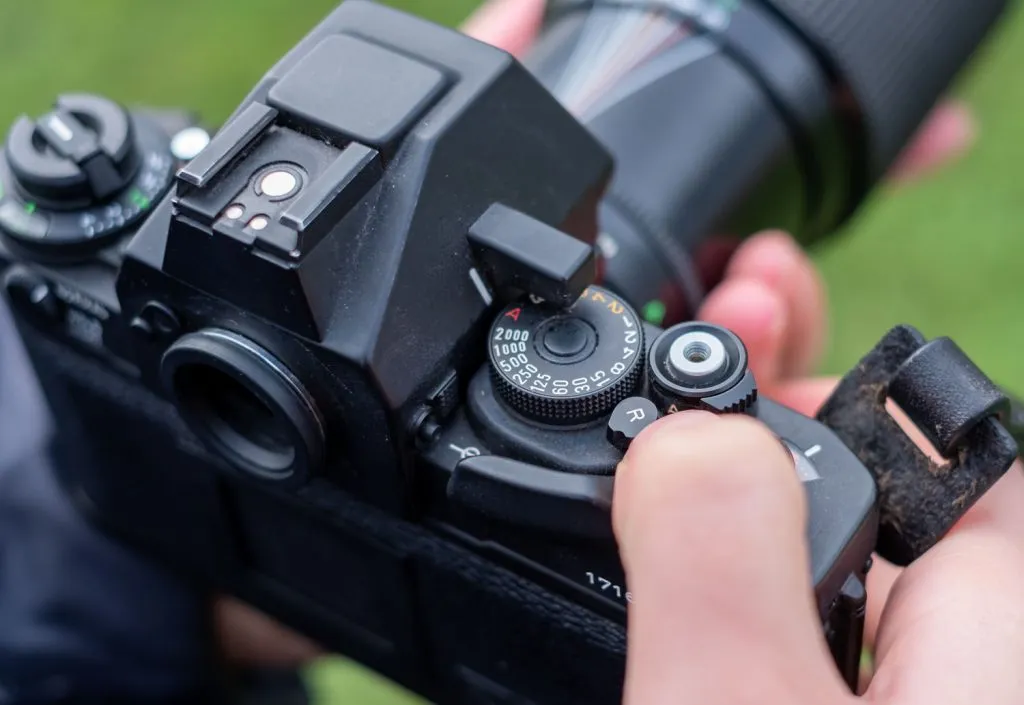
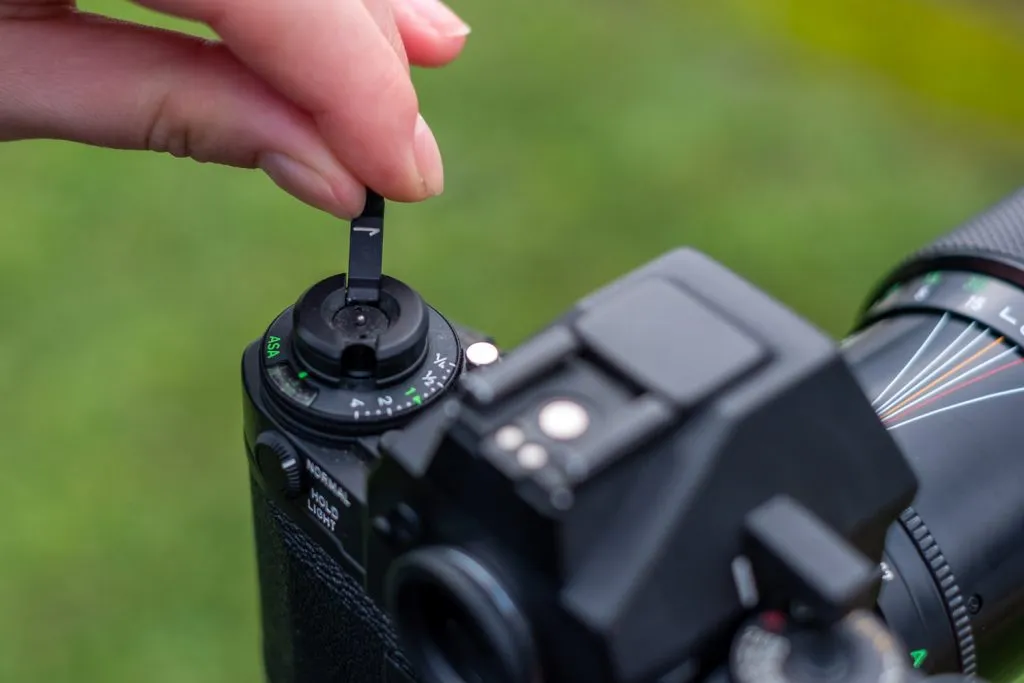
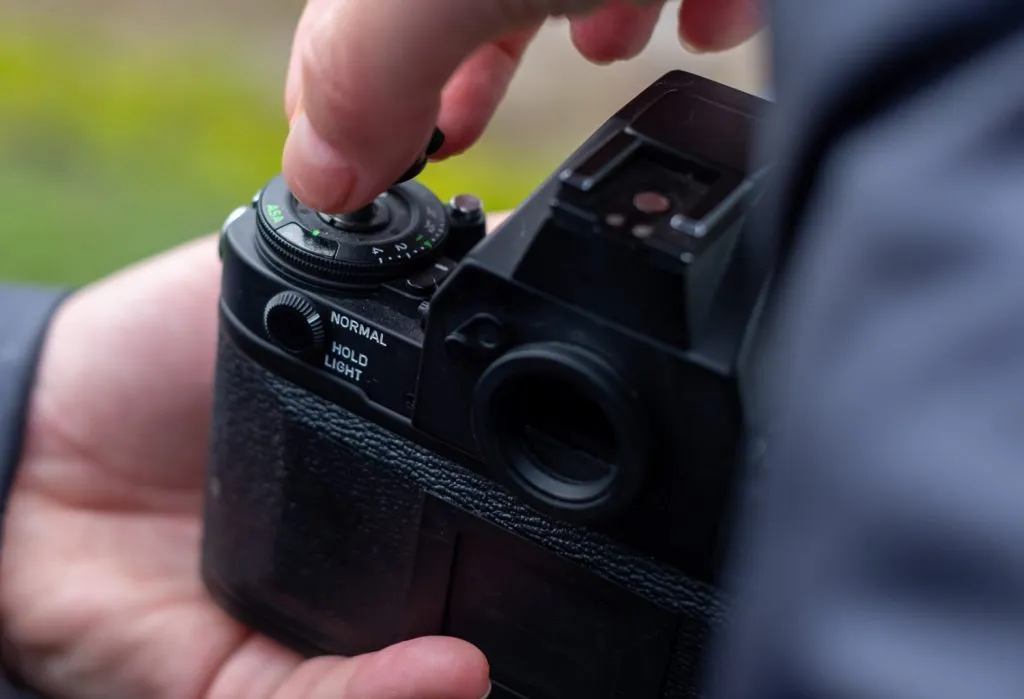
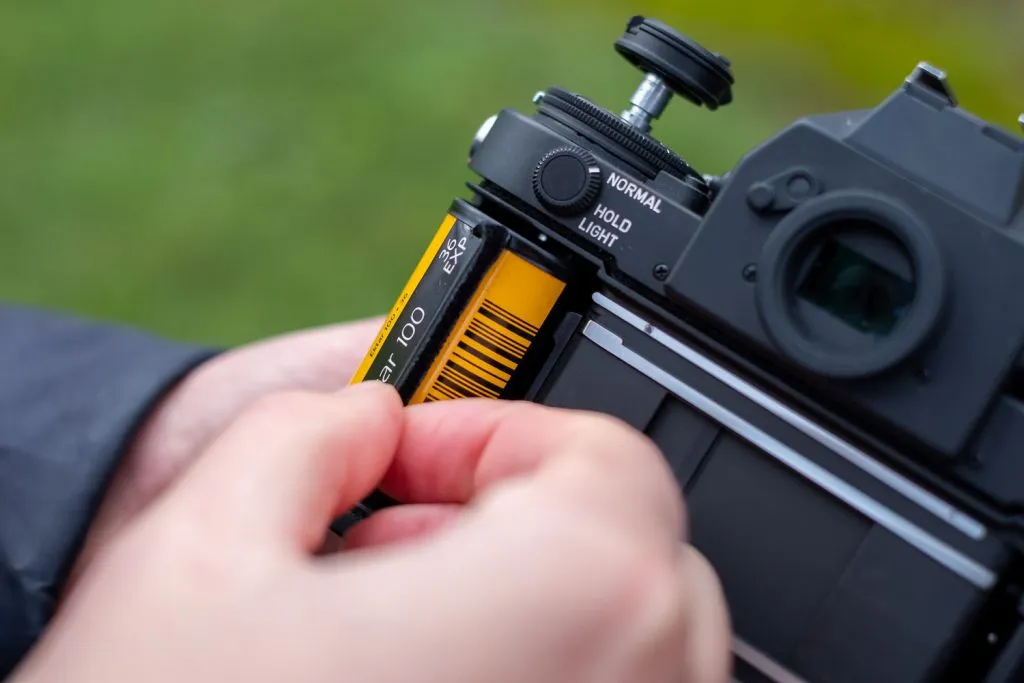
The camera’s back should be opened first. Most cameras have a rewind knob that, when pressed, opens the camera’s rear. Your camera’s rear should automatically open if you lift the rewind knob until it clicks.
Instead, some cameras contain an open switch that allows you to access the camera’s rear. Refer to the handbook or search online if you’re unsure how to get to the film chamber on your camera.
Step 2: Prepare Your Film
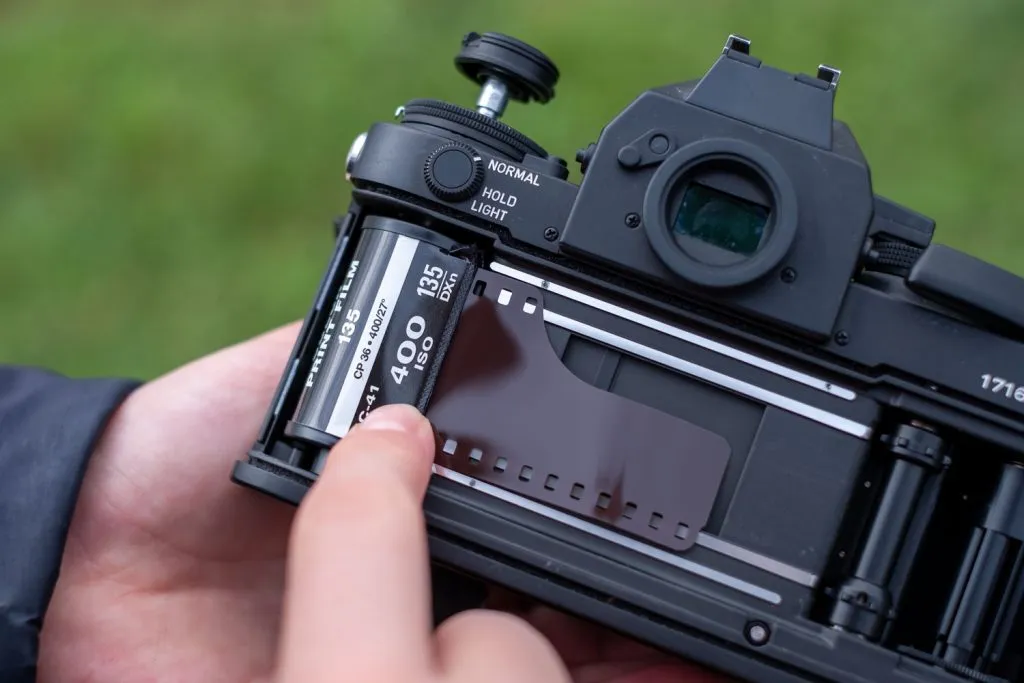
Remove the film from the tiny container. The leader, which is about an inch of film, can be seen. With the film leader sticking out to the right, place the film on top of the film chamber on the left side of the camera.
Once the film is in the proper position, load it by pushing it into the film chamber or raising the rewind knob. Before proceeding to the following step, be sure that the previous one is correctly completed. You should be able to plainly hear it settle into the film chamber and snap into place.
Step 3: Secure the Film Leader in Place
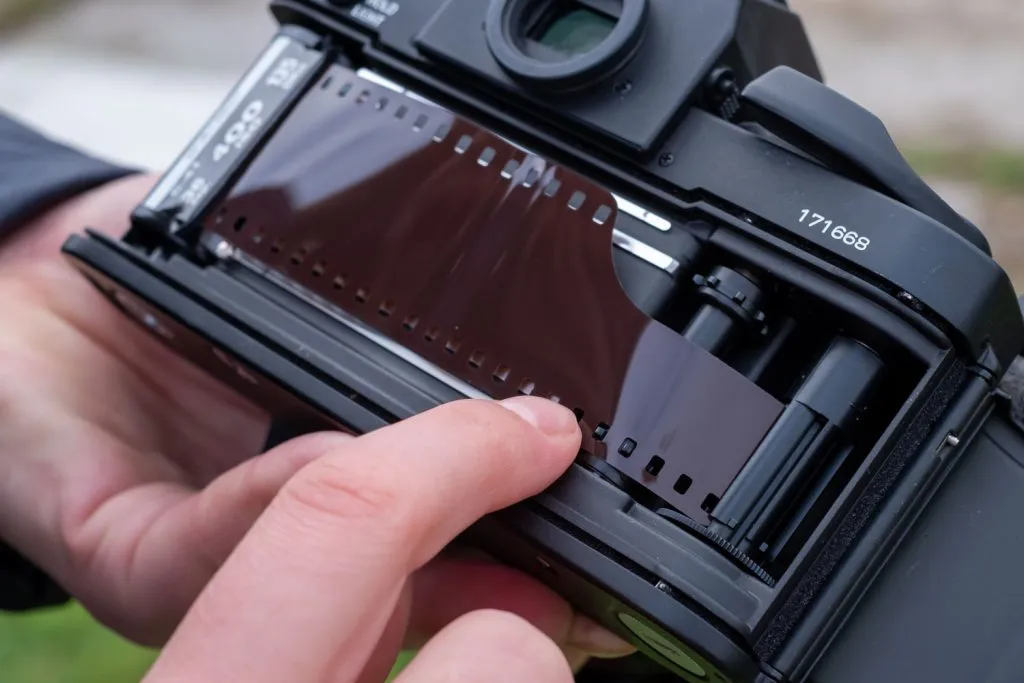
It’s important to follow this step while putting the film into your camera. Every time you take a picture, the camera needs to wound your film through the leader, which needs to be securely fastened in position.
First, move the film leader across the camera and toward the take-up spool slot on the right. To avoid dirty fingerprints ruining your photos, hold the 35mm film softly at the top and bottom of the film as you compose your images.
While steadying it with your fingers, insert the leader’s thin end into the take-up spool. Make sure the leader is inserted into the spindle deeply enough to be taken up.
You Can Also Read Our Trending Topic – How To Flip Omegle Camera Android or iPhone
Step 4: Wind the Film Forwards
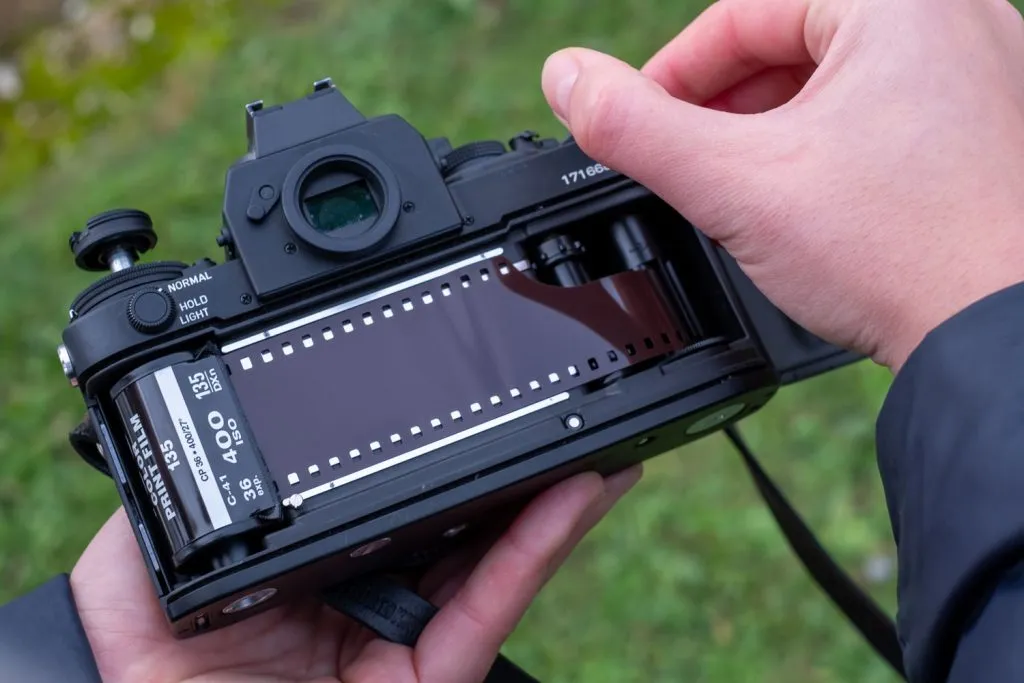
The next action requires some coordination. With your left hand, keep the leader firmly in place while aligning the sprockets on the spindle. Find the film advance lever on the top right of your camera with your right thumb next. The shutter release button may also need to be held against the lever or close to it.
Advance the film just enough for the spindle to pick it up and begin winding it. Once you have a sufficient length of film wound around the spindle, secure it into place by repeating the process with the film advance lever.
Step 5: Close the Camera and Take Some Photos!
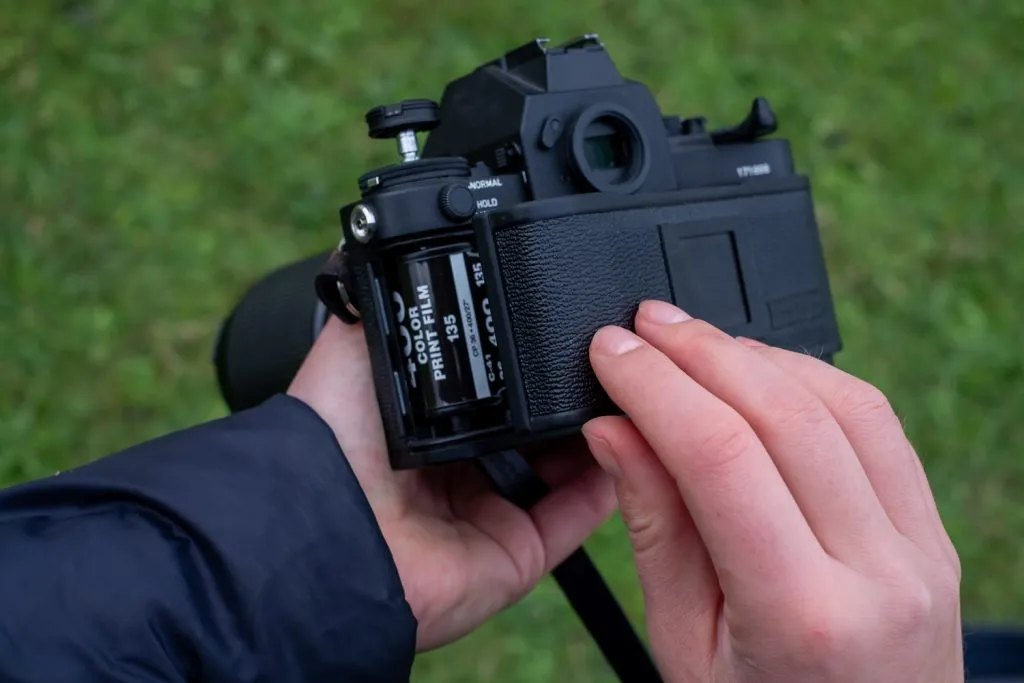


The final step is to close your camera, but only after being certain that the film has been loaded correctly. The back compartment should securely close with a click. To prevent utilizing the exposed film at the roll’s beginning, you merely need to wind on the film. You can accomplish this by pressing the shutter and spinning it while clicking many times. When the counter says “0,” stop.
And the loading film is complete with that! On your initial go-around, go carefully and don’t haste. You don’t want a minor error to derail your movie.
You are now prepared to begin shooting! It’s a great experience to take film images, so have fun, get inventive, and experiment!
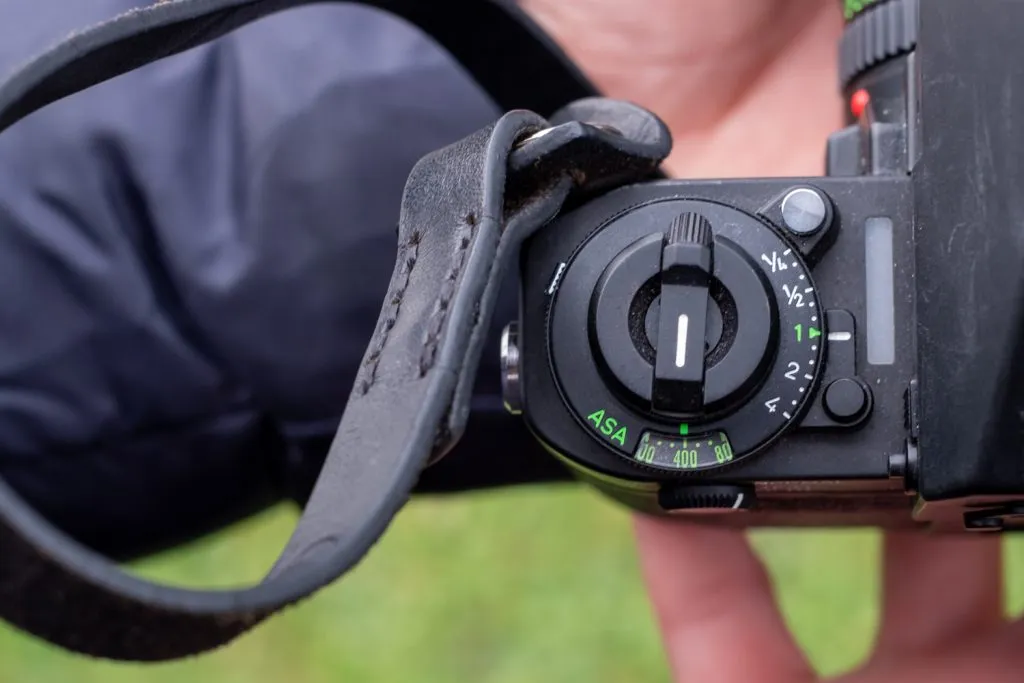
Recall adjusting the ASA to the appropriate value for the current film. Before you begin shooting, update your film if you were using ASA100 and have since switched to ASA400
Film Photography Tips
Use the Right Film
To get the finest results, you must choose the right film for the available illumination. Use a faster film speed, such as 800 ISO, if you’re photographing in low light. On the other hand, you can utilize a lower ISO film speed if there is a lot of natural light. A decent film for daylong shooting is 400 ISO.
Select the Correct Settings
Make sure your camera is set up correctly before you begin filming. Consider carefully what ISO, aperture, and shutter speed will produce the best results for the pictures you wish to take. You’ll notice a noticeable improvement in your photographs when you take the time to get your settings just right at the start!
Can you load the film in the light?
The film can be loaded into the light as only the leader needs to be exposed. In order to prevent too much light from entering as you swap films, the film cradle has felt around the edge. But if you can, try to avoid loading your film during the height of the day. Simply move your gaze away from the sun or cover your camera with your hands to block the light.
Conclusion
At some time in their career, every photographer should try out film photography. It’s a truly unique experience that gives you the chance to take stunning, vintage images. But if you’re unsure of how to load film, just adhere to these simple instructions! Please feel free to contact me by email or comment if you need assistance with anything.
Please share this article on Facebook and Twitter if you found it useful. Visit the blog for more reviews, tutorials, and recommendations on photography.
If you want to scan your recently shot film, look at our guide to the finest film scanner.
How do I know if I loaded my film correctly?
There are several ways to determine if you have loaded the film correctly in a film camera. Some common methods include:
- Checking the film rewind knob: After loading the film, the rewind knob should be in the “out” position. If it is not, the film may not be loaded correctly.
- Checking the film advance lever: After loading the film, the film advance lever should be able to be moved smoothly. If it is stiff or does not move, the film may not be loaded correctly.
- Checking the film counter: Many cameras have a film counter that will advance as you take pictures. If the film counter does not advance, the film may not be loaded correctly.
- Checking for light leaks: After loading the film, take a test shot and check for any light leaks. Light leaks can indicate that the film is not loaded correctly.
- Checking the film leader: After loading the film, check that the film leader is properly aligned with the take-up spool. If the film leader is not properly aligned, it can cause problems with film winding or advance.
It’s also important to check the manual of your camera or consult a professional to be sure you are loading the film correctly.
It’s also important to note that if you are using expired film, it can cause the camera to malfunction or produce pictures that are not sharp or have poor color quality.


